
There’s something undeniably wonderful about the quiet calm of a spa and someone else pampering your face, but it can be hard to find the time for a professional appointment. Whether you’re balancing a career, family, or a schedule that’s jam-packed, a facial shouldn’t feel like another thing to tick off your list – it should be the highlight of your day!
In this guide, we’re showing you how to achieve the iconic glow from the comfort of your own home. Read on to discover how to do a facial at home using No7 skincare with everything you need to know, including:
What is a Facial?
A facial at home is the perfect addition to your pampering routine and consists of several skincare steps and products to cleanse and treat the skin, ideally performed at least once a month. It works to deeply cleanse, exfoliate, and nourish the skin for a clarified and hydrated complexion.
Can I Do a Facial by Myself?
Yes, you absolutely can do a facial yourself. Whether you are looking to reclaim your glow or simply want a moment of peace after a long week, a facial is the perfect self-care ritual, especially when done without leaving the house.
How to Prepare for a Facial
The secret to an at-home facial routine is all in the prep. To get the most out of the experience, you need to create the right environment for both your mind and your skin.
To ensure you have the best possible DIY facial, we’d recommend you do the following:
Gather your tools: Alongside your chosen skincare products, have a clean towel and a bowl of hot water for steaming ready. Create a relaxing atmosphere: We’d recommend dimming the lights and selecting a soothing soundtrack. The glow of a scented candle and a cup of herbal tea would be wonderful additions, too. Avoid the sun: A facial treatment can irritate sunburned skin, so we recommend waiting until your skin is fully healed before trying one.
6 At-Home Facial Steps
Now that you’ve set the atmosphere and gathered your tools, your pampering can begin. From cleansing to applying targeted skincare, our 6-step facial treatment is a simple yet indulgent moment of self-care.
Step 1: Double Cleanse the Skin
The first essential step of a DIY facial is cleansing. Start by using the No7 Derm Solutions Daily Detox Gel Cleanser to deeply cleanse. Dermatologist-approved, the nourishing formula helps to maintain the skin’s delicate moisture barrier for softer, healthier-looking skin.
How to apply: Apply to damp skin using a circular motion to create a lather before rinsing well with warm water.
To remove any last traces of makeup and the daily build-up of environmental pollutants that can cause visible skin damage, we recommend double cleansing your skin. Follow the first cleanse with the No7 Future Renew™ Damage Reversal Peptide Cleanser. A gentle, purifying cleanser, it’s enriched with vitamin C and niacinamide to help brighten and nourish your skin for a visibly rejuvenated complexion.
How to apply: Gently massage a pea-sized amount into your dry skin and wash off with warm water and a cleansing cloth.

$17.99


$19.99
Step 2: Steam the Face
Steaming the face helps to open up pores and loosen any build-up of oil and impurities for a deeper cleanse. It also helps other products in your at-home facial penetrate the skin more effectively.
How to steam your face: Carefully pour hot water into a large, heat-safe, non-porous bowl. Drape a towel over your head and hold your face 8 inches above the water for up to 10 minutes. To ensure you don’t burn yourself, first test the steam temperature with the back of your hand before placing your face over the bowl.
Step 3: Gently Exfoliate
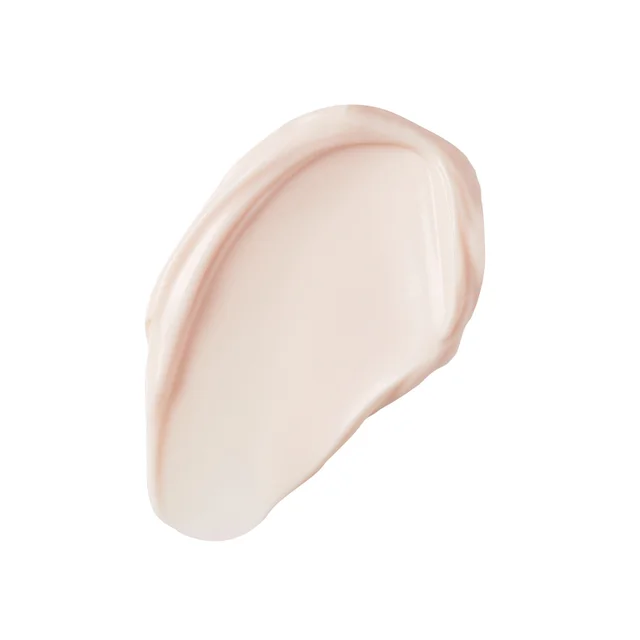
Exfoliating helps buff away dead skin cells and unclog the pores for a more radiant-looking complexion. Choose a gentle exfoliator, like No7 Lift & Luminate Dual Action Cleansing Exfoliator. It’s formulated with exfoliating particles and vitamins B5, C, and E to gently cleanse the skin without drying it out.
How to apply: Using circular motions, gently massage a pea-sized amount of the exfoliator onto damp skin and rinse with lukewarm water.

$9.99
Step 4: Apply a Hydrating Face Mask
After cleansing and exfoliating, your skin needs to be rehydrated. An easy way to do so is with a hydrating sheet mask, such as the No7 Restore & Renew FACE & NECK MULTI ACTION Serum Boost Sheet Mask. This mask provides a powerful concentration of serum ingredients, including Matrixyl 3000+, hyaluronic acid, and vitamin C, helping to improve tone and texture for visibly healthier-looking, nourished skin.
How to apply: Smooth the sheet mask over your face, ensuring the nose, cheeks, forehead, and chin are covered. Hook over ears to secure and relax for 15-20 minutes before removing, then massage in any leftover product into the skin for ultimate hydration - no need to wash!

$7.49
Step 5: Massage with a Face Serum
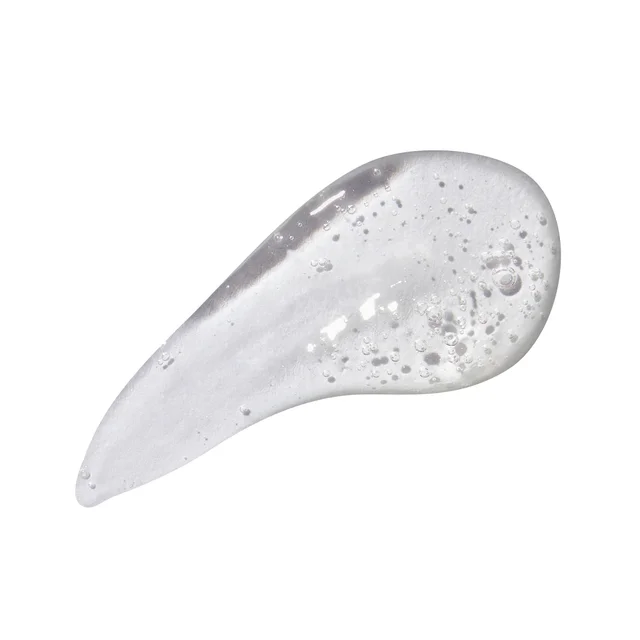
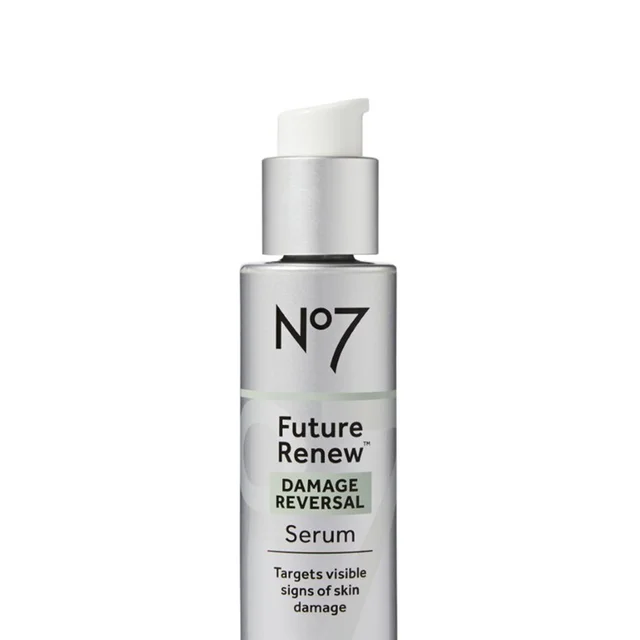
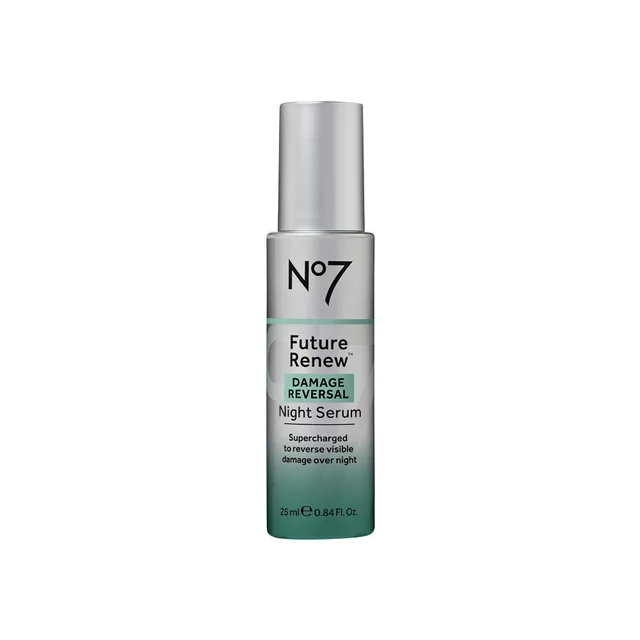
To really elevate your at-home facial, you’ll next do a massage. Combining a face massage with a targeted treatment, such as the No7 Future Renew Damage Reversal Serum, or the No7 Future Renew Damage Reversal Night Serum, is simple but effective. Formulated using world-first peptide technology, these lightweight serums help to target visible signs of skin damage for a rejuvenated complexion, day or night, and provide enough glide to help your hands move comfortably across your face.
How to Massage Your Face:
Step 1: Apply a dime-sized amount of product onto two fingers.
Step 2: Using two fingers, use circular motions to massage the serum into the cheek area, gently moving from the center of the face and upwards towards the forehead.
Step 3: Using the base of your thumb, move up the jawline using circular motions, around the cheekbones, and gradually up to the temples.

$39.99

$39.99
Step 6: Finish with a Moisturizer
The final stage of an at-home facial is to lock in the benefits from the previous facial steps and products to add further nourishment to your skin.
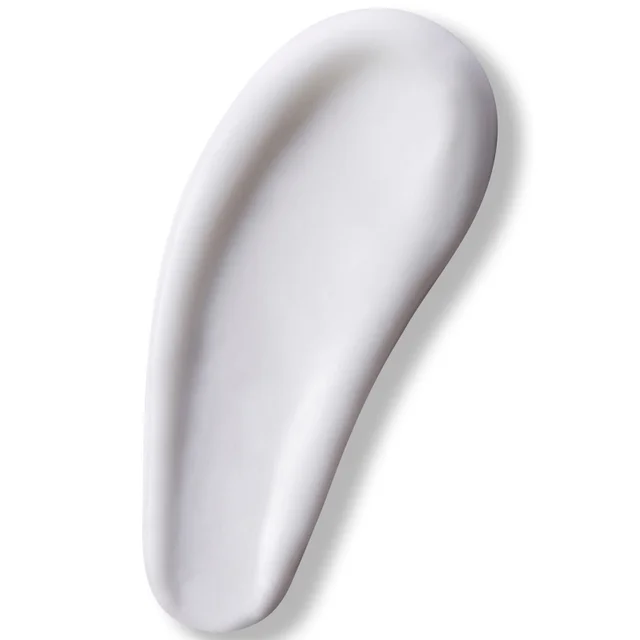
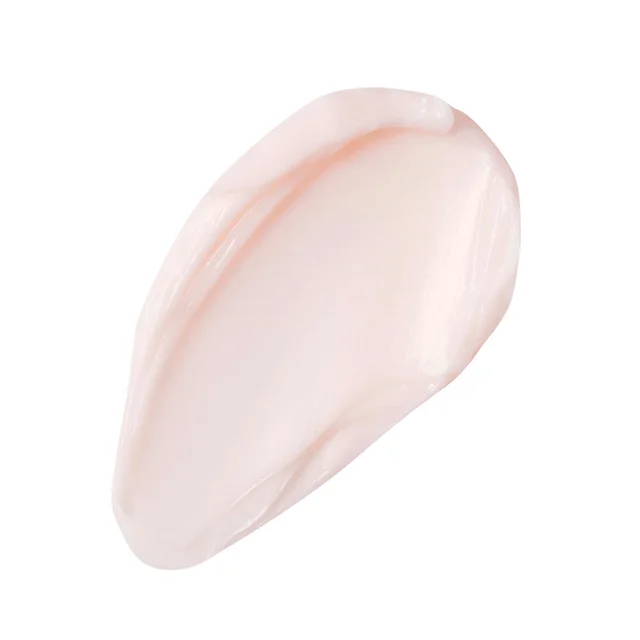
No7 Restore & Renew Day Cream and Night Cream are designed with age-defying technology to target the key signs of aging, as well as firming and brightening complexes that give the skin a smoother and firmer appearance in just 1 week.*
* Based on a consumer perception study
How to apply: Using your fingertips, gently smooth the moisturizer over your entire face and neck. Use gentle circular and patting motions to help absorption into your skin.

$34.99

$34.99


