
Whether you want to brighten the look of tired under-eyes or soften the appearance of fine lines, the right concealer technique can make all the difference.
Achieving a seamless finish is about more than simply dotting it on and blending – the secret lies in thoughtful prep, shade selection, and application technique.
Our step-by-step guide details how to apply concealer in your routine, so that you can achieve a soft-focus, natural-looking result.
What is Concealer Used For?
Concealer is designed to even the look of skin by adding targeted coverage where you need it.
Similar to foundation , but often more concentrated in texture, it may be used to brighten the look of dark circles , soften the look of discoloration, and blur the appearance of blemishes.
Where Does Concealer Go?
Concealer should go wherever you want a little extra coverage or brightness. Rather than applying it all over the face, use it strategically for a more skin-like finish.
Common places to apply this product include:
- Under the eyes to brighten the look of dark circles
- The inner and outer corners of the eyes for a lifted effect
- Over blemishes or dark spots for targeted coverage
- Around the mouth or chin
- The centre of the forehead, bridge of the nose, or cupid’s bow for subtle highlighting .
How to Apply Concealer: Step by Step
Balance is key to concealer application. You want enough coverage to create a refreshed look, while maintaining that smooth, skin-like finish.
Here’s how to apply concealer correctly in five easy steps.
Step One: Prep the Skin
Concealer works best on skin that feels clean and hydrated, as this allows it to glide on smoothly, reducing the chance of product clinging to dry patches or settling into fine lines.
We recommend starting with a gentle cleanse to remove excess oil, impurities, and any leftover makeup. If your skin feels dry, follow with a hydrating serum or moisturizer to help create a balanced base.
For the eye area, we recommend applying a lightweight eye serum , like the No7 Future Renew Damage Reversal Eye Serum , to help this delicate area feel nourished and prepped before application.


Step Two: Apply Primer
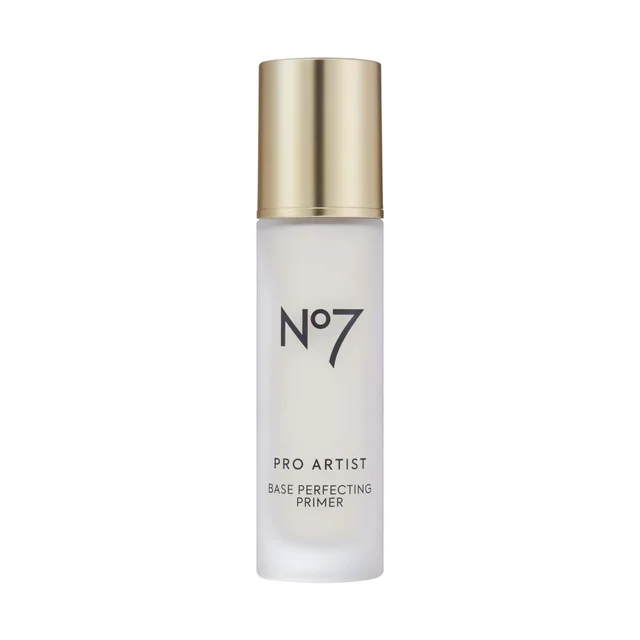
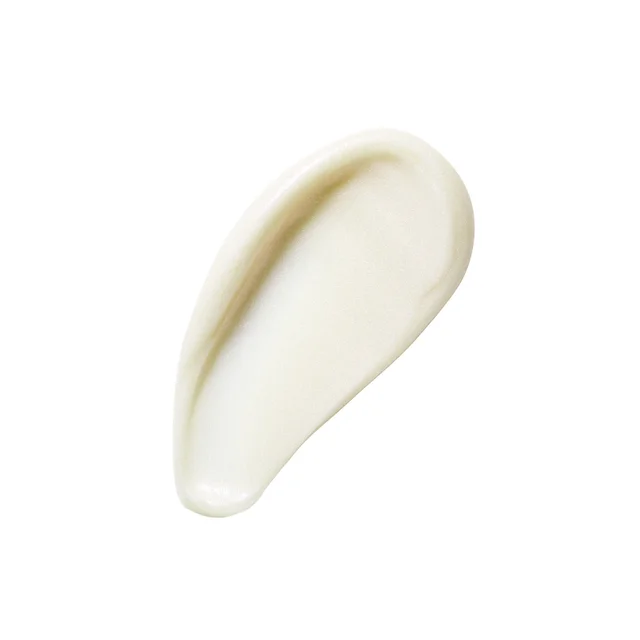
Start by applying a primer. This helps to minimize the appearance of pores, fine lines, and creases, creating an adhesive-like barrier over the skin that enhances the longevity of your makeup. This step is especially important for concealer, as it can be prone to fading or settling into lines
The No7 Pro Artist Base Perfecting Primer provides a supple, smooth base that helps makeup last, while No7 Airbrush Away Radiance Boosting Primer is ideal when you want a brighter-looking surface.


Step Three: Apply Your Base
Next, apply your chosen base product. This could be a foundation, BB cream, or tinted moisturizer if you prefer a more lightweight feel.
Applying your base beforehand helps you clearly see where extra concealer coverage is needed, ensuring a more seamless finish.
These products can be applied in a few ways, depending on your desired finish. A brush gives a more polished, full-coverage look, while a sponge creates a softer, more natural-looking result.
Step Four: Apply Concealer
Now for targeted coverage. Dot a small amount of concealer where you need it, then build gradually if required. A light-handed approach is the best way to avoid a heavy or cakey finish.
If you’re wondering how to apply concealer under your eyes, apply a small amount to the inner corner and another toward the outer corner, then blend outward, creating a lifted effect.
For blemishes, use a concealer shade that closely matches your skin tone. Apply directly onto the area, then let it sit for a few seconds before blending around the edges. This gives a little more control and helps maintain coverage where you want it.
For dark spots or uneven tone, press a thin layer over the area, then blend gently into the surrounding skin. If you need more coverage, add a second light layer rather than one thick application.
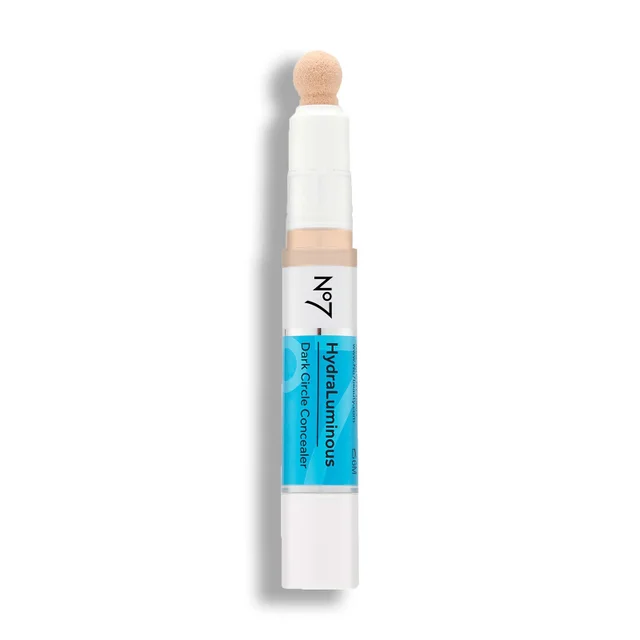
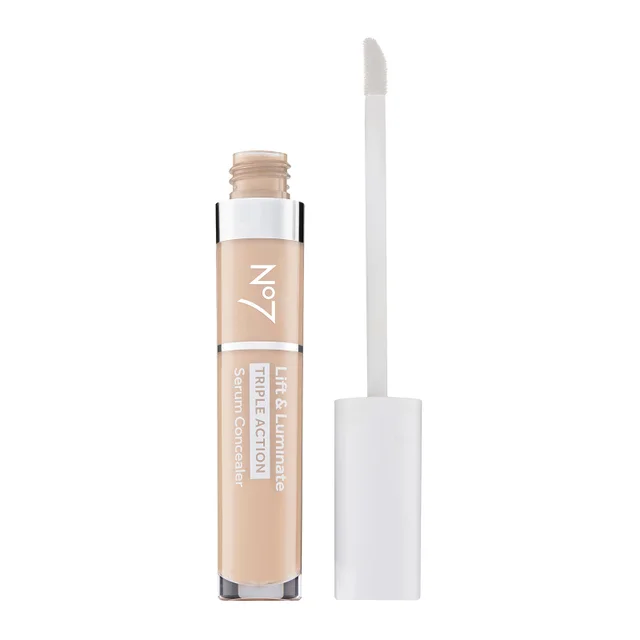
For lasting luminosity, choose the No7 Hydraluminous concealer , or benefit from the skincare-infused No7 Lift & Luminate Triple Action Serum Concealer .
Expert Tip: To conceal imperfections, choose a shade that matches your skin tone. For a brightening effect under the eyes, choose one that is one or two shades lighter.


Step Five: Blend Gently
When blending, the aim is to soften the edges without moving all the product away from the area you want to cover.
Use a light tapping motion with your ring finger, a brush, or a damp makeup sponge. Avoid dragging or rubbing, especially under the eyes, as this could disturb your base and reduce coverage.
Whether applying with your fingers, a sponge or a small brush, use light pressure and build gradually. The warmth of your fingertips can help melt the product into place, while a damp sponge presses it in for a seamless finish. For blemishes or the inner corners of the eyes, switch to a small brush to keep coverage exactly where you need it.
Step Six: Set With Powder
To improve your makeup’s longevity and lock the concealer in, apply a light layer of setting powder onto the skin.
Use a small fluffy brush or powder puff, then press a fine amount of powder over the concealed areas. The key is to use less than you think you need. Too much powder can make the skin look dry, while a light veil helps lock makeup in place.
No7 Pro Artist Set The Scene Loose Setting Powder is a strong option for this step. Its soft, finely milled texture helps blur the look of imperfections and absorb excess oil for a smooth, soft-focus finish.
Expert Tip : For a more radiant-looking result, set only the areas that need it and leave the high points of the face fresh. This helps your complexion look polished without losing its natural glow.
Frequently Asked Questions
To help you get the best results, we’ve answered some frequently asked questions.
Do You Put Concealer on Before or After Foundation or BB Cream?
For most makeup routines, apply concealer after your foundation or BB cream. This allows you to see which areas still need extra coverage, helping you use less product for a more natural-looking finish. However, if you are using a color corrector, apply it before foundation or BB cream.
How to Apply Concealer with a Sponge
Makeup sponges provide a seamless, high-coverage that lasts all day. The best way to apply concealer with a sponge is:
- Step One: Dampen the makeup sponge with water and squeeze out any excess.
- Step Two: Dot the concealer directly onto areas of pigmentation, blemishes, or the under-eye area.
- Step Three: Gently blend the concealer outwards with a dabbing motion until seamlessly blended.
How to Apply Concealer with Fingers
To apply concealer using your fingers, simply wash your hands, dot the concealer onto the desired area, and use circular motions to blend outwards. The natural heat from your fingers may also help to create a smooth-looking finish.
Explore No7 concealers today and find your perfect match.


